hey y’all!
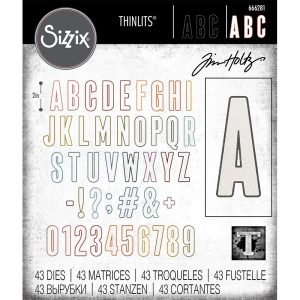
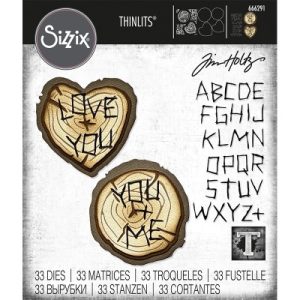
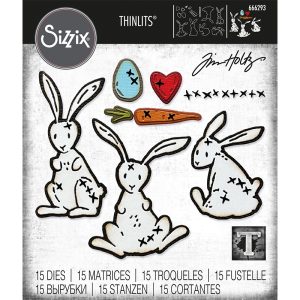
I’m so excited to bring you todays blog! I’ve been working with 3 of the new Chapter 1 Sizzix release dies and I’m in LOVE!!! I decided to limit myself to 3 sets… I wanted them all. Let’s be honest, I really don’t need them all. I decided to get the alphabet called Bulletin, Bunny Stitch, and Wood Slice. All of the projects in this blog post where created for ScrappyShak. I have included affiliate links below each project.
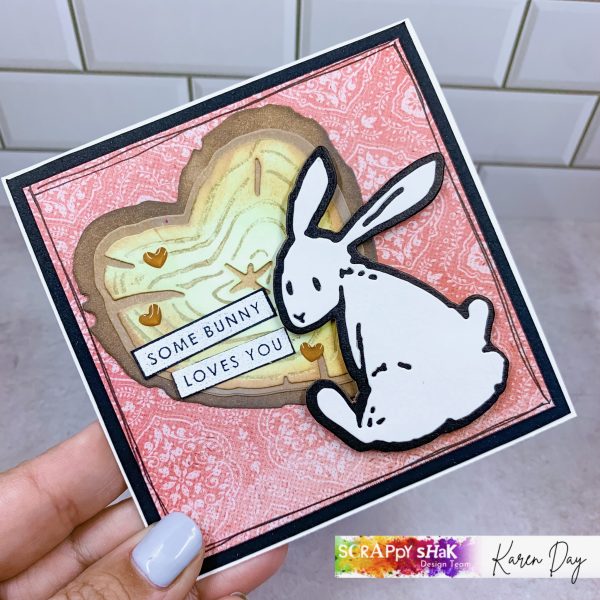
Project 1: Some Bunny Loves you!
How To:
Card Base is a 4.25 x 4.25 top fold card. Cut a black mat at 4.125 x 4.125. The printed paper (Vicki Boutin) is 4×4.
- Start by cutting the wood slices and bunny from white card stock. The back ground layer of bunny is cut from black cardstock.
- Ink wood slice with Ground Espresso (back layer), Gathered Twig (middle layer), and Frayed Burlap (top layer) Distress Oxide ink. And assemble. The bunny is layered without inking.
- Add black cardstock and pattern paper to card base. Then add the wood slice and bunny to card. I did use dimentionals to raise the bunny up off the card.
- Stamp “some bunny loves you” in Versamark onto Black paper. Emboss in white. Add to card.
- Draw lines around the patterned paper layer. Then add Doodlebug hearts.
Supplies:
Paper: Vicki Boutin Evergreen and Holly 6×8 pad, Tim Holtz Black cardstock, White Cardstock
Inks: Tim Holtz Distress Oxide
Stamps: Simon Says Stamps
Dies: Tim Holtz Wood Slices, Tim Holtz Bunny Stitch
Adheasives:
Other: Doodlebug Designs Epoxy Hearts, White Embossing Powder
Project 2: Hugs and Kisses XO Card
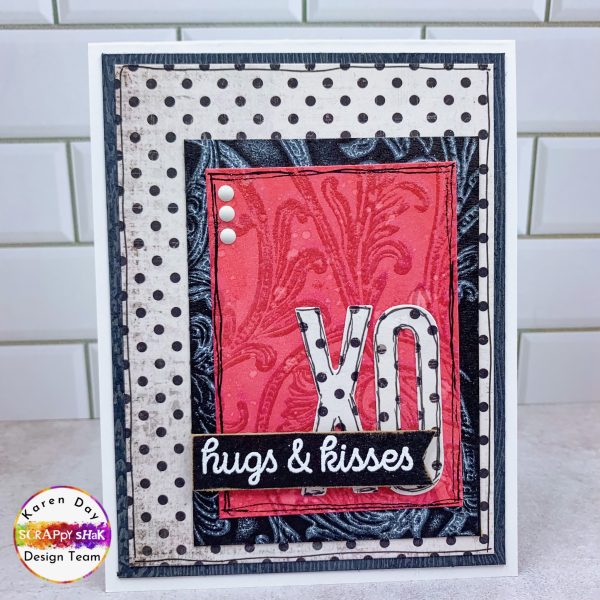
How to:
Card base is an A2 top folding card (4.25 x 5.5). Woodgrain layer 4x 5.25. Black and white dot 3.75×5. Black layer 3×4. Lumberjack Plaid layer 2.5×3.5
- Cut all the layers. Add the bottom two layers to card as shown above (woodgrain and black and white dot). Add lines around black and white dot layer.
- Using Lost Shadow Distress Oxide Stamp a Flourish stamp onto black cardstock.
- Ink blend Lumberjack Plaid. Stamp flourish stamp in Versamark ink. Then emboss with Lost Shadow embossing glaze. Draw lines around edge of layer.
- Die cut X and O from the Bulletin Alphanumeric die set in the black and white paper. Then use a black pen and outline the die cuts.
- Stamp “hugs and kisses” onto black cardstock with Versamark. Emboss with white embossing powder.Sand edges to distress. I used the new sanding disks- they really are fantastic!! Add to card with dimentionals.
- Add epoxy dots.
Supplies:
Paper: Tim Holtz Black Cardstock, Tim Holtz Black woodgrain
Inks: Tim Holtz Oxide Ink, Versamark
Stamps: Simon Hurley Foam, Honey Bee Stamps
Dies: Bulletin Alphanumeric
Adheasives:
Mixed Media: Distress Glaze, White Embossing Powder
Other: Altenew Enamel Dots
I hope that you have been inspired by these cards. They were super fun to make for you today. A quick tip for you… I die cut a BUNCH of X and O using a full adhesive post it note to hold the dies. I also cut several bunnies. This will help make future making faster- think compartmental making. I talk about what this means to me in this YouTube video: https://tinyurl.com/wmfrtmvh
I want to thank ScrappyShak for making me a member of their creative team! I love bringing you products from their store. Compensated affiliate links used when possible (at no additional cost to you). The opinions of all products are my honest thoughts. ANd the projects shown here are my original ideas ;).
Thanks for joining me on this creative journey! I hope you enjoyed these projects and learned some new tips and tricks. Don’t forget to check out both my Instagram and YouTube where you can like, comment, and subscribe for more crafty fun. And if you have any suggestions for future products to work with, projects to make, or techniques you want to see me blog or make videos about let me know in the comments below. Until next time, let us all be a little kinder!