

A Little Halloween Magic: Texture, Layers & Lindy’s Magicals
Some cards just need a little extra drama, and Halloween is the perfect excuse to pile on the layers, get a little messy, and play with color!
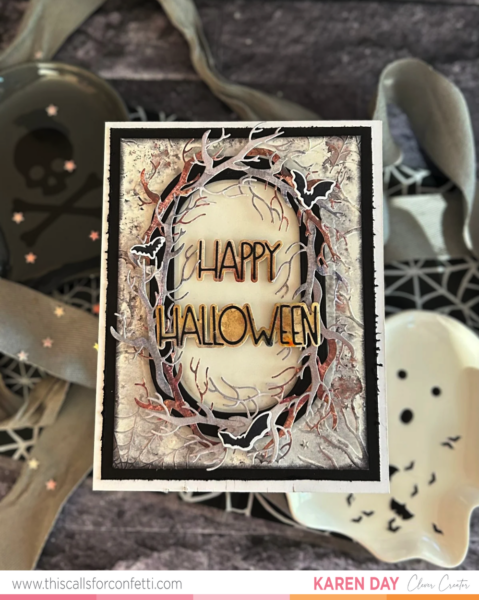
For this Halloween card, I pulled out some of my favorite products from This Calls for Confetti and paired them with Lindy’s Gang Magicals pigment powders. The result is a spooky woodland scene with lots of texture, dimension, and just enough shimmer to catch the light.
And here’s the fun part: I used those same Magicals in three different ways!
A Little Spooky, A Little Magical
I wanted this card to have that eerie, overgrown forest feeling without being overly dark. The combination of twisted branches, layered frames, and distressed colors gives it a slightly haunting look while still letting the Happy Halloween sentiment take center stage.
The Midnight Stillness Embossing Folder creates a wonderfully textured background, and the Hello Elongated Essentials dies provide the foundation for the scene.
From there, I layered branches cut with the Autumn Accents dies around the opening. I love how those delicate branches overlap and reach into the center of the card. They add movement and dimension without overwhelming the sentiment.
The Wicked Webs dies provided my Happy Halloween greeting, while the bats from the Witching You Something stamp set were the perfect finishing touch.
But what really brings all those layers together is the color!
Let’s Talk Techniques!
If you’ve played with Lindy’s Gang Magicals, you already know that a little powder can go a long way. These highly pigmented powders react with water to create beautiful, unpredictable color combinations.
For this card, I used three different techniques to create color, texture, and interest.
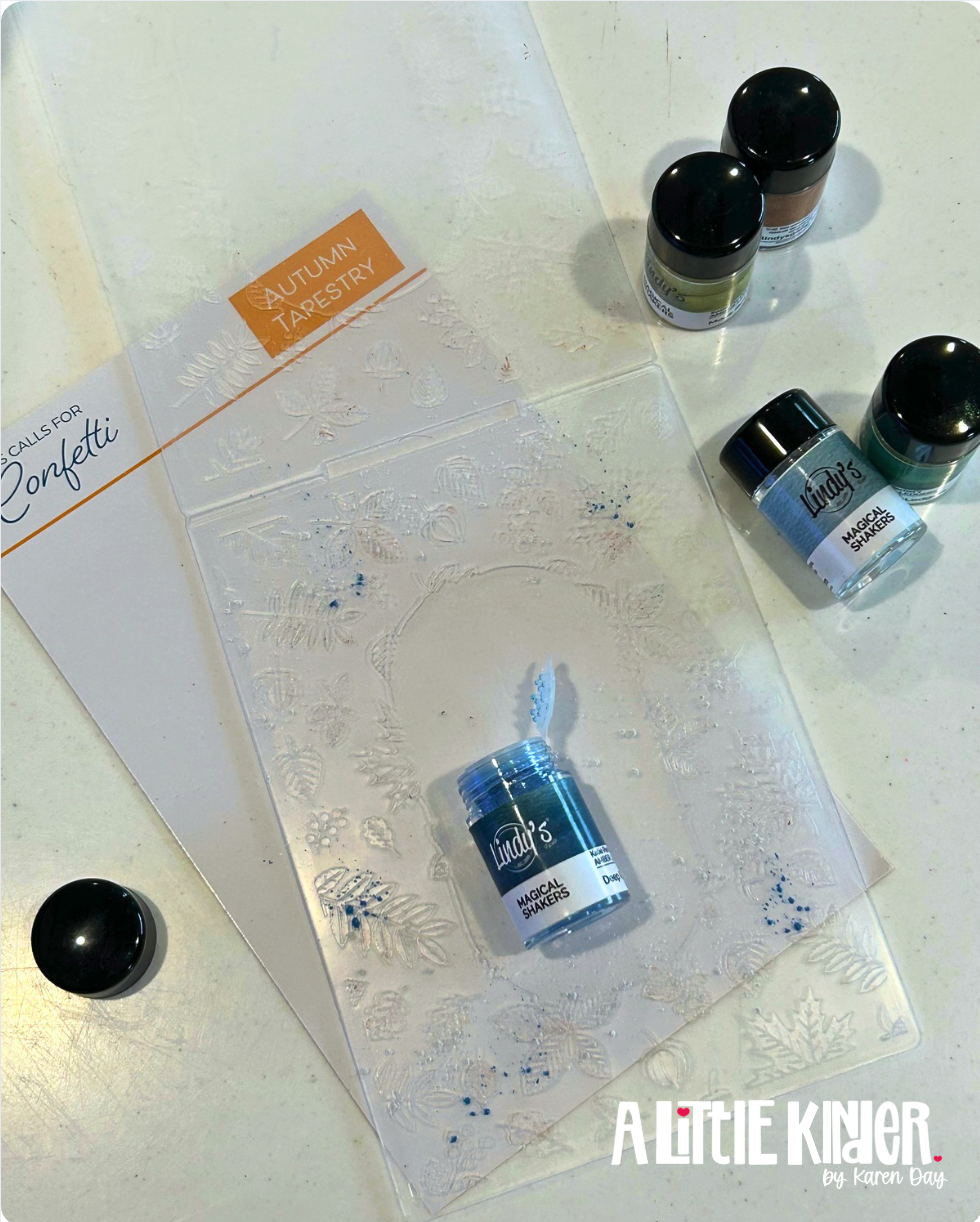
1. Sprinkle on the Embossing Folder
This is such a fun way to add color while creating texture!
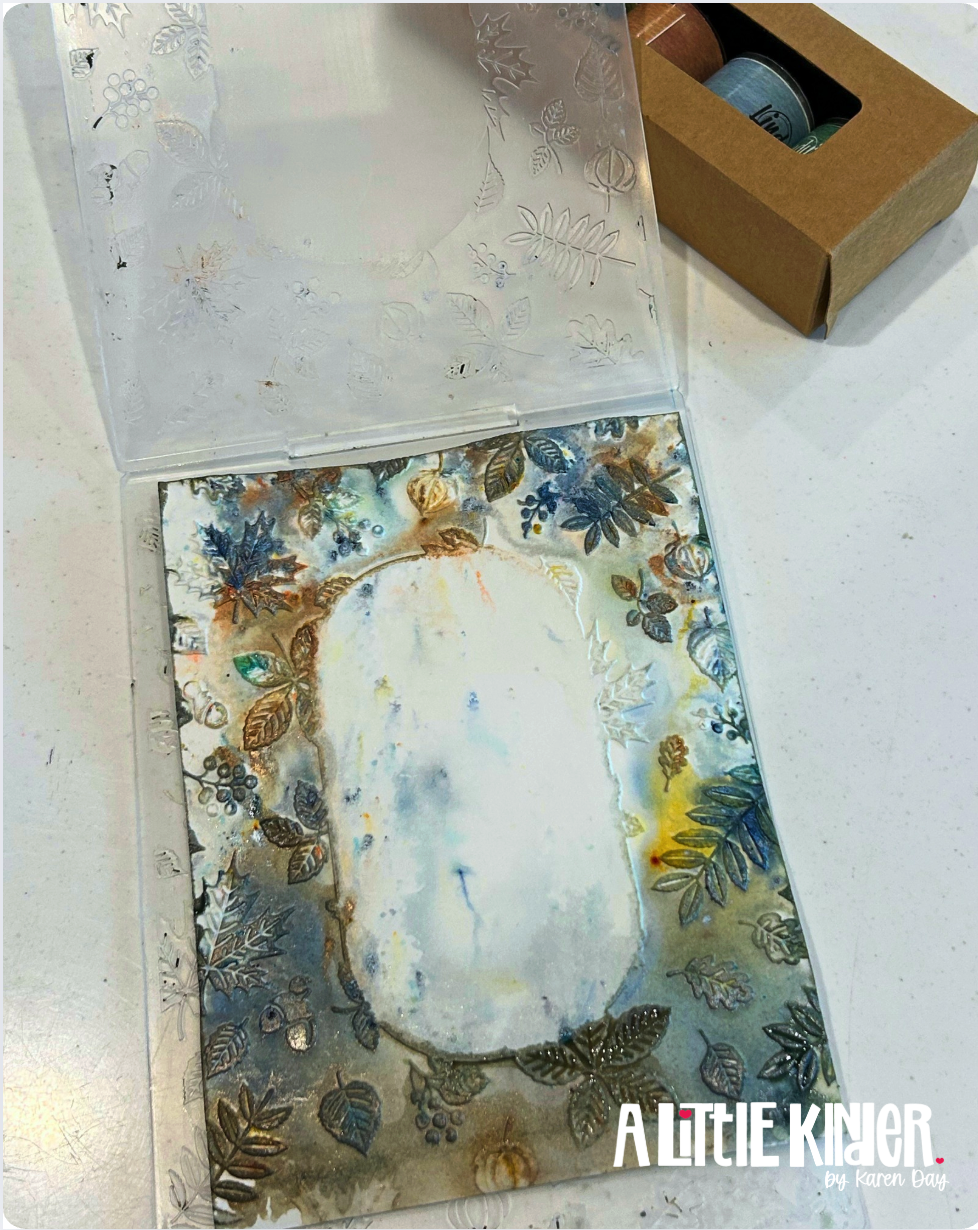
Sprinkle a small amount of Magicals directly onto your embossing folder, lightly mist with water, and emboss your cardstock. The pigments settle into the embossed design, creating a beautifully distressed finish.
Tip: Start with less powder than you think you’ll need. You can always add more, but those little jars pack a punch!


2. The Wet Wipe Swish
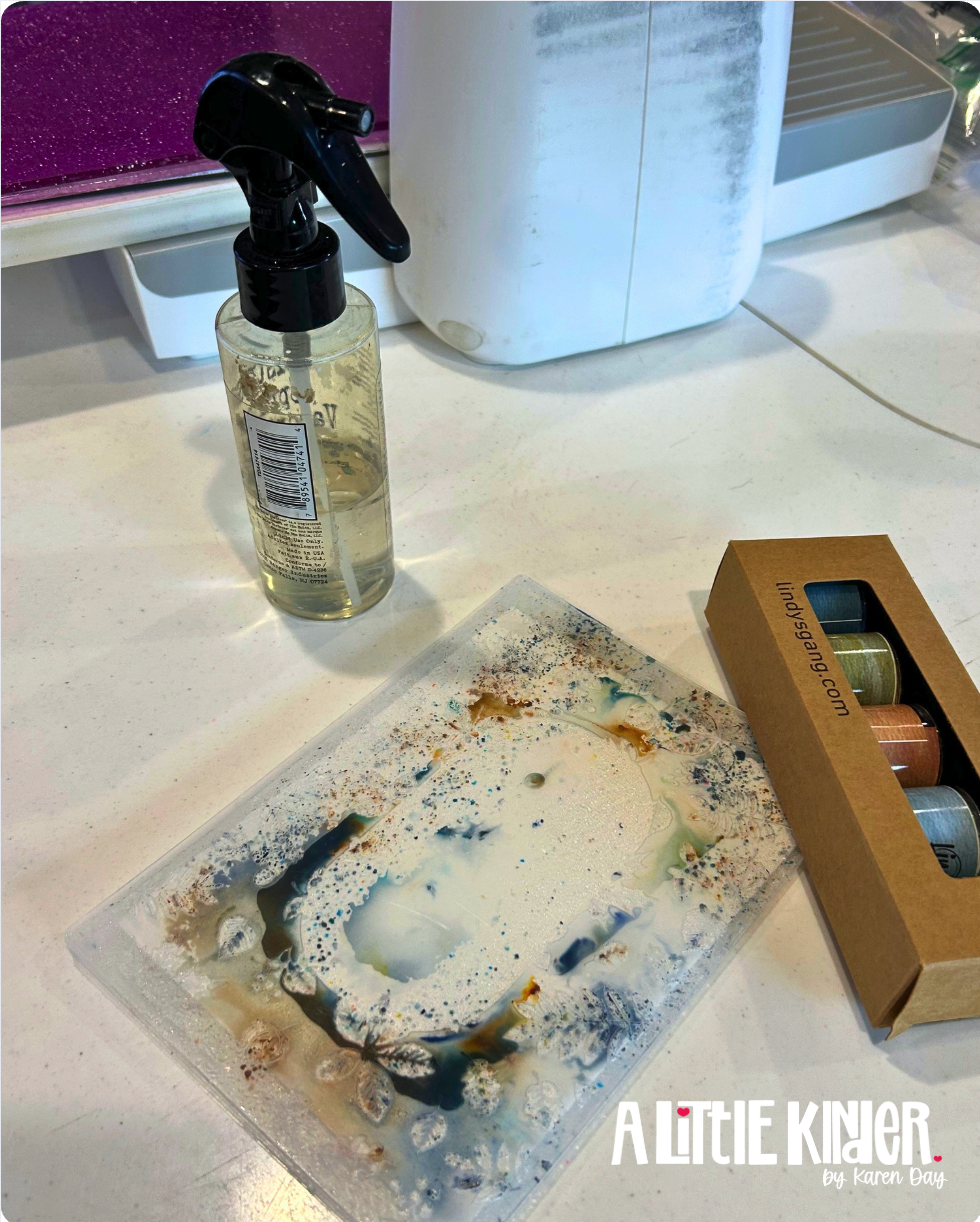
Sometimes you don’t want a perfectly blended background. You want streaks, movement, and those unexpected little areas of color.
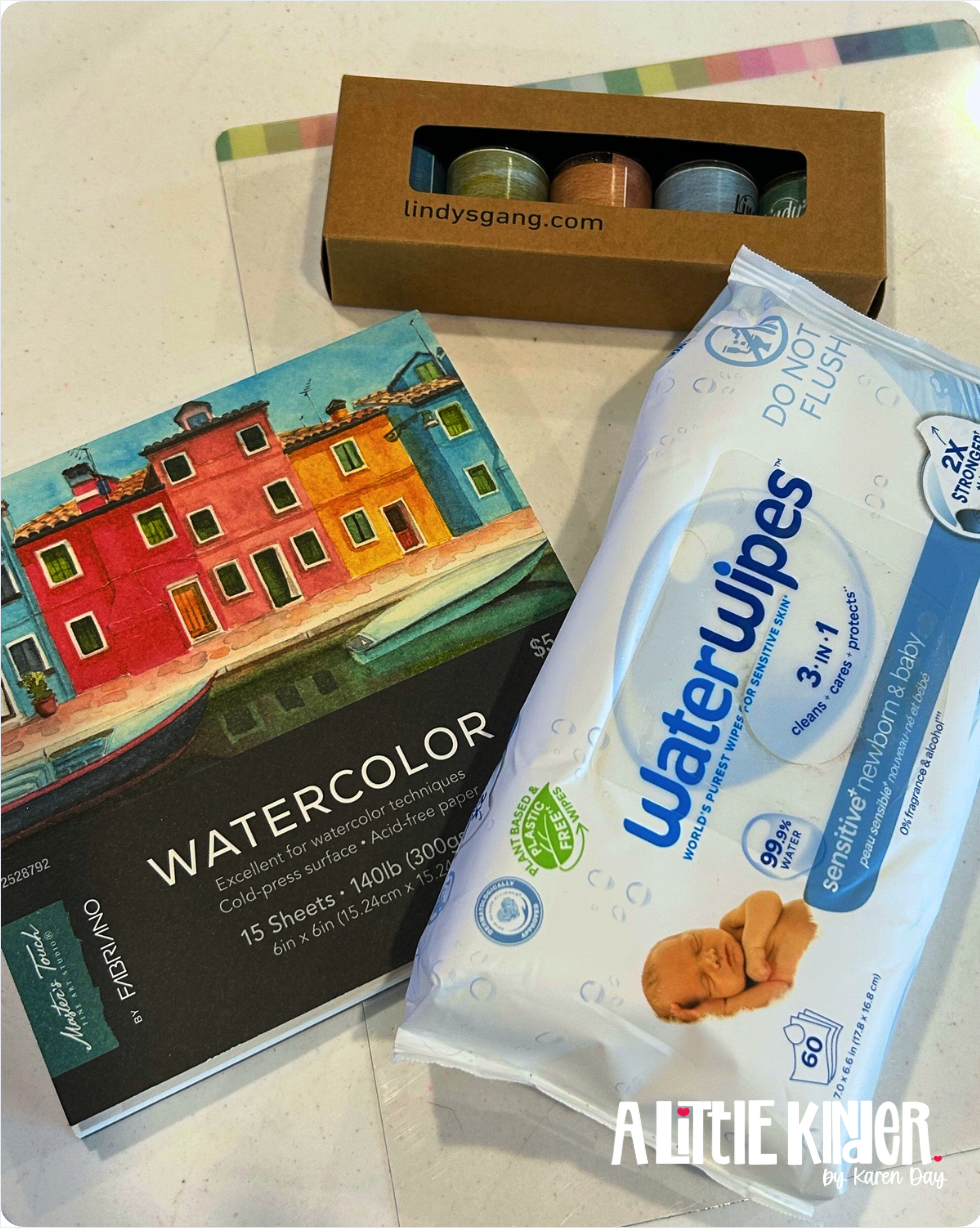
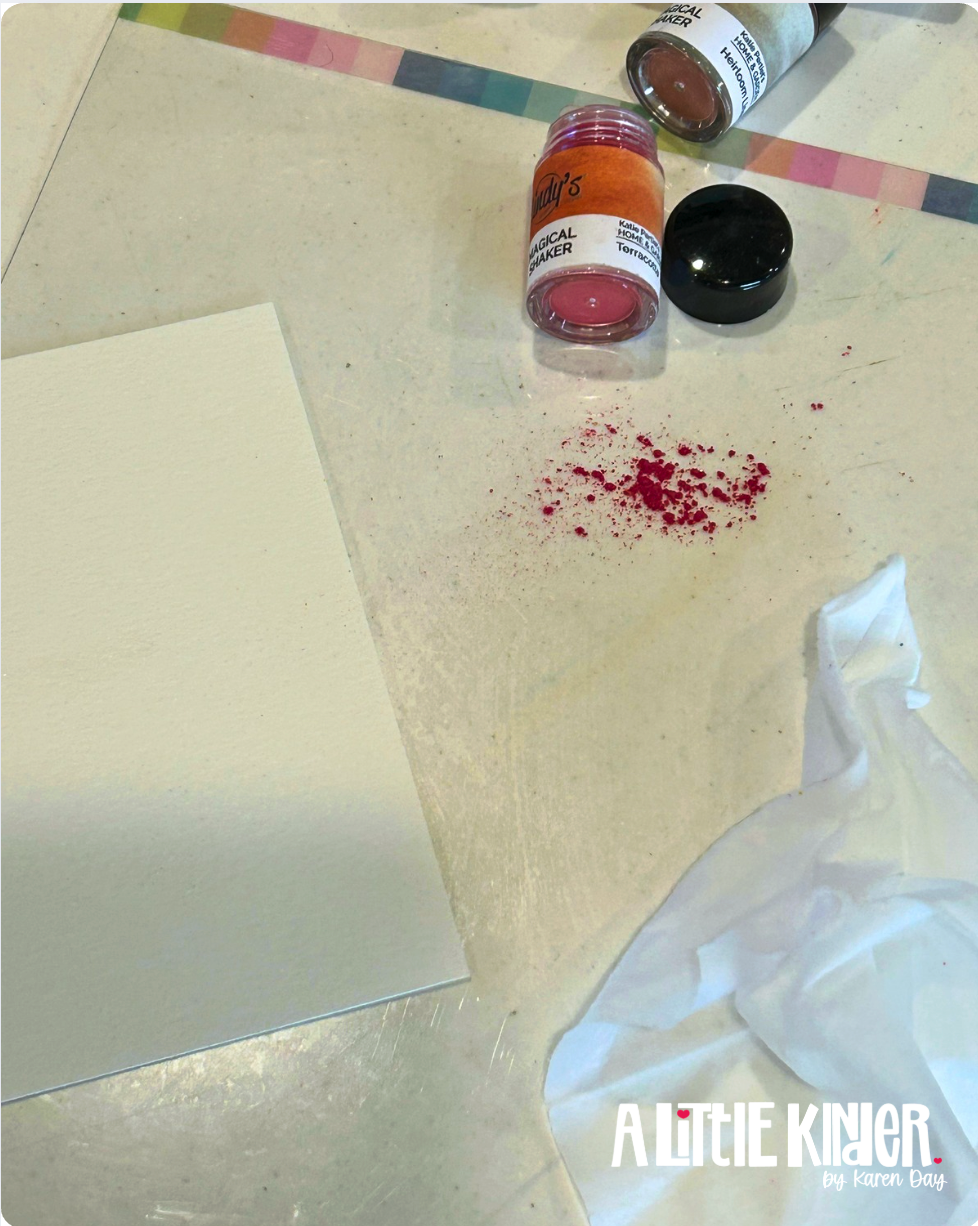
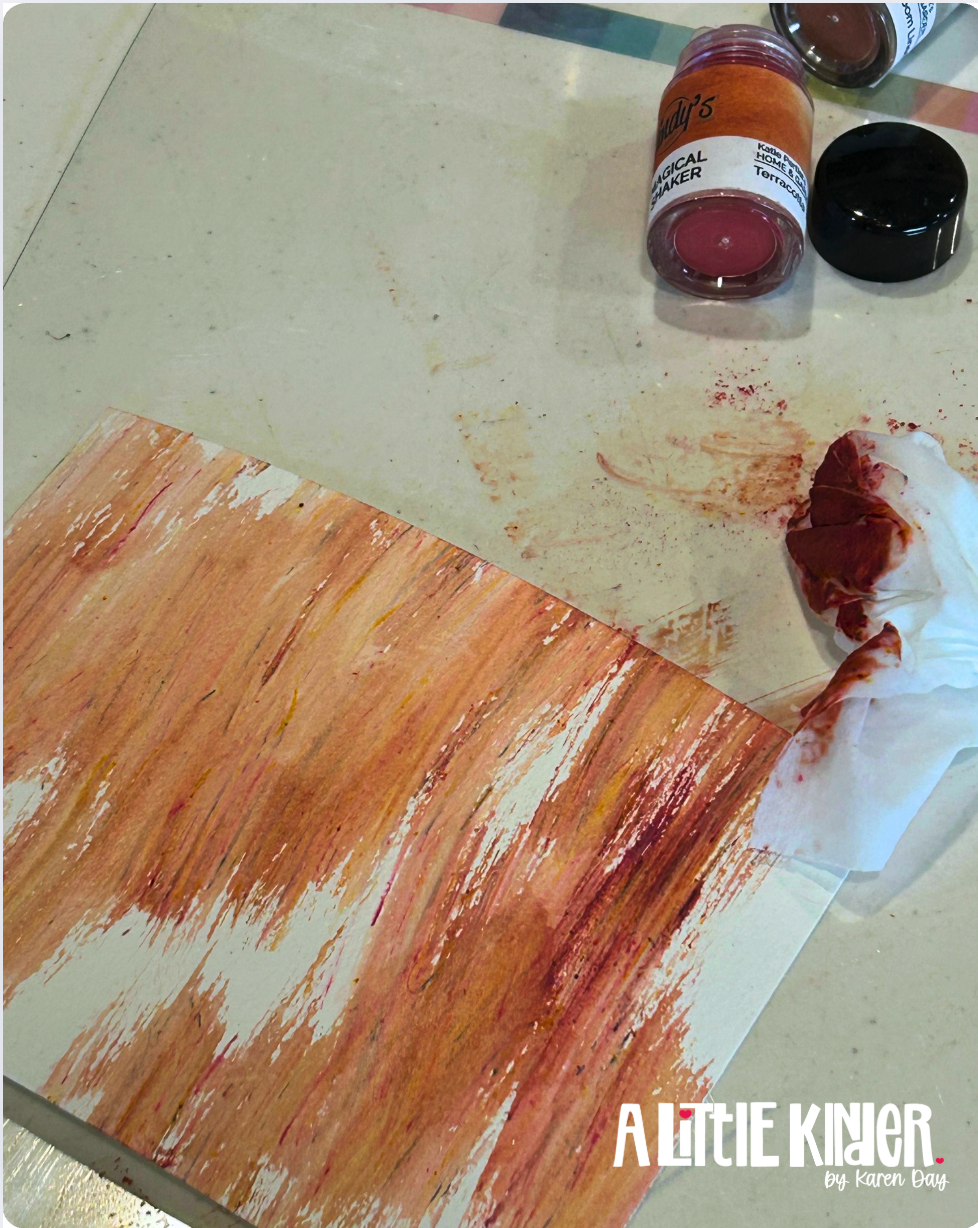
A damp baby wipe can help move and soften the pigments across your paper. Swishing the color creates an organic, weathered appearance that works beautifully for branches, backgrounds, and anything that needs a little grungy goodness.
For this technique, I have fount that a good quality watercolor paper works best. It can stand up to the wet of the baby wipe. I like to work on a blending mat or glass mat for this technique. Sprinkle the powder onto the mat and swipe with your baby wipe. You get a very messy looking baby wipe and a lovely background. Make sure you don’t over work the powder though… more swipes = more blending of the pigment powders.
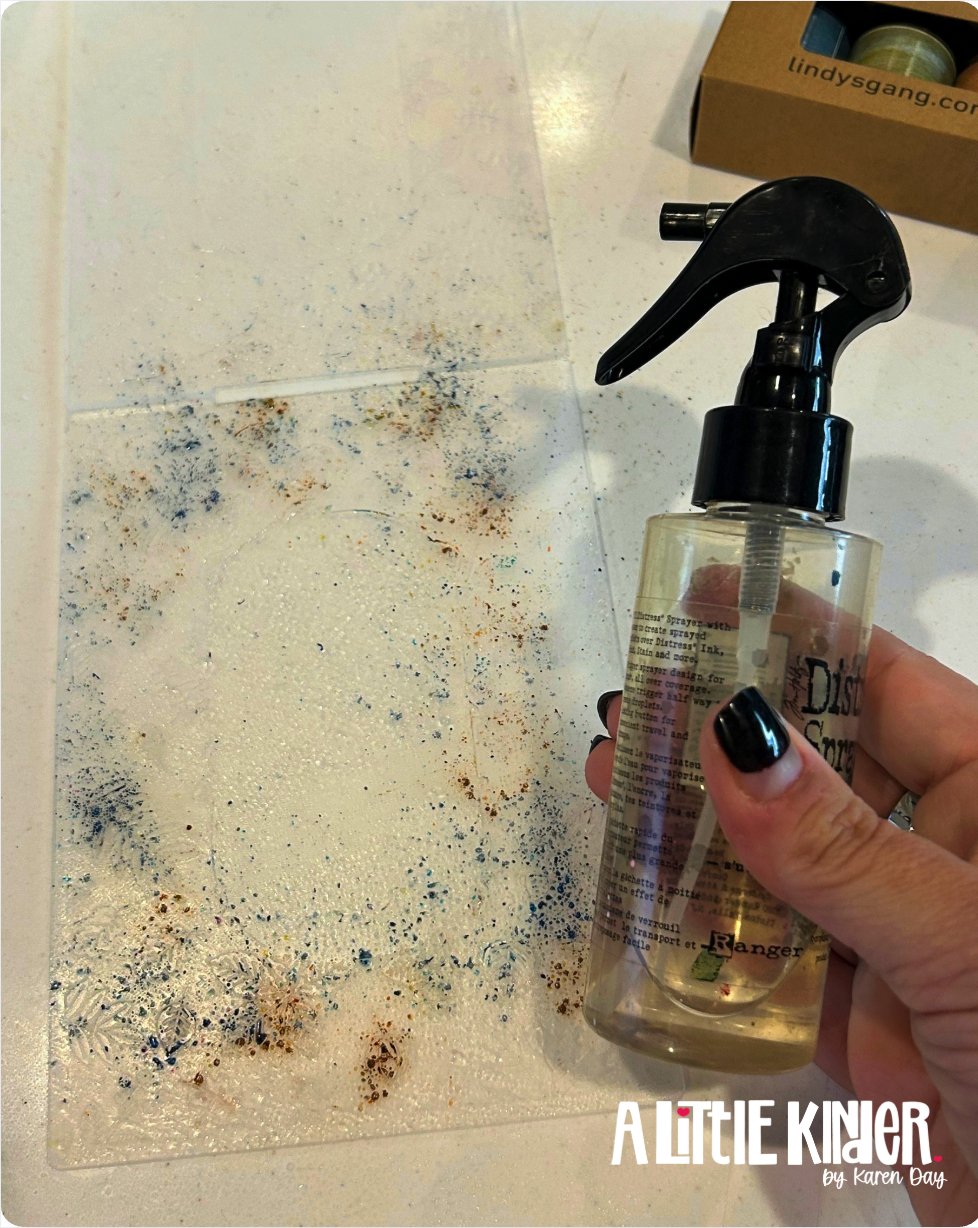
3. Sprinkle & Spray
This might be one of the easiest ways to play with Magicals!
Sprinkle a small amount of pigment onto your paper, mist with water, and watch the colors come alive. You can tilt the paper to encourage movement or leave it alone and let the water do its thing.
Every piece turns out a little different, and that’s part of the magic!
A Few Tips From My Craft Table
- Work in layers. When you’re building a detailed scene, start with your larger shapes and add smaller elements as you go. You don’t have to attach everything immediately. Sometimes moving pieces around is half the fun!
- Let your backgrounds dry completely. This is especially important when working with pigment powders and water. A dry surface is much easier to die cut, emboss, and layer.
- Don’t be afraid of imperfect color. Those unexpected spots, streaks, and variations are what make mixed-media projects interesting. A little messy can be a very good thing!
- Use contrast to your advantage. The darker layers behind the branches help all those intricate details stand out.
- Give your details some breathing room. With so many branches surrounding the center, keeping the sentiment area lighter helps the greeting remain the star of the show.
And here’s one of my favorite reminders: You don’t have to use a product exactly the way it was intended. Experimenting with different techniques is how you discover new favorites!
Products Used
All stamps, dies, and embossing folders are from This Calls for Confetti.
- Hello Elongated Essentials — Metal Craft Dies
- Autumn Accents — Metal Craft Dies
- Wicked Webs — Metal Craft Dies
- Midnight Stillness — Embossing Folder
- Autumn Tapestry – Embossing Folder
- Witching You — Stamp Set
- Lindy’s Gang Magical’s — Pigment Powders
Some links may be affiliate links. If you choose to shop through them, I may earn a small commission at no additional cost to you. Thank you for supporting my crafty adventures!
One Last Thing…
If you’ve got Magicals sitting in your stash waiting for the perfect project, consider this your invitation to pull them out and play!
Try a technique you haven’t used before, mix up your colors, or use a favorite die in a completely different way.
After all, a little experimenting is where some of the best crafty ideas begin.
Happy crafting!