Hey y’all!
Today I’m sharing my very first Scrappy Shak design team assignment and it’s a GREAT one! Let’s take a second to talk about this assignment. First I wasn’t exactly sure what a shaker panel was. We don’t have a local store in my city, only big box. When we started talking about this product I scratched my head on what to do. I mean anyone could see that these are great for shaker cards, but what else?
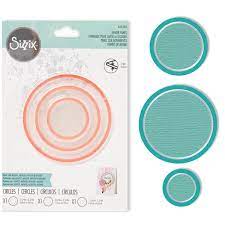
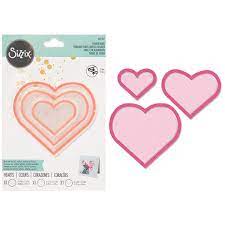
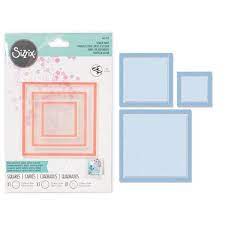
I love when a product takes me somewhere else; somewhere that is outside the box. After getting the product in my hands the ideas really started to flow! First these are like the champaign of shaker products. They are about a 1/4″ thick with a clear plastic piece for both the front and back. There is also red line tape already attached to both sides of the product. These shaker panels come in three shapes (square, circle, and heart). Each package has 3 sizes. The smaller 2 sizes are great for elements on a card. I felt that the largest size was a little big for cards, but I came up with a great idea for that largest size.
There is one additional piece we need to talk about… dies! Yep! Sizzix created dies to match the shapes. There are 2 dies per size. One cuts the “frame” and the other fits inside the shaker panel. In the pictures above, the shaker panels are on the left and the dies are on the right.
Now let’s dive into my projects. Y’all even Thomas was impressed, and he isn’t impressed easily. lol
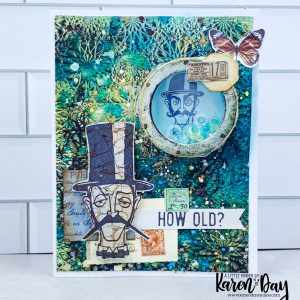
My first project is a card. Not a big surprise that this was the first thought that I had because I’m a card maker. This first picture is a full card shot. I mixed a LOT of Tim Holtz products on this card. Inks and pants and 3D elements. As well as stamps and Ideaology. Oh and this is Thomas’ favorite of the projects I’m sharing today. He really liked this one!
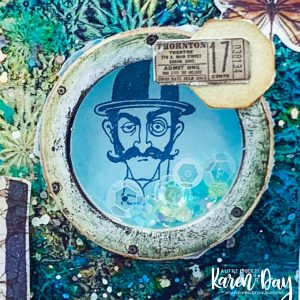
This is a detail of the Sizzix Shaker Panel. I used one of the Tim Holtz window frames that I added a few little labels too. I placed the Shaker Panel behind the paper I made.
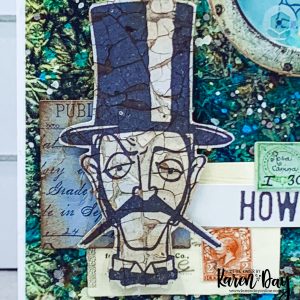
This is the detail of the lower right corner. I stamped onto Tim Holtz backgrounds.
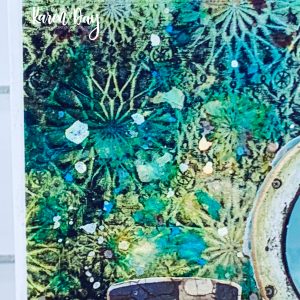
This is a close up of the paper I created using a Tim Holtz embossing folder over ink blended paper. I then dry brushed black paint over the top of the embossed areas.
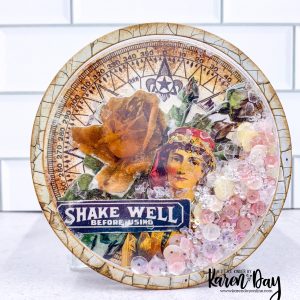
This is my second project. For this project I used the largest circle and created a decor piece with a vintage feel. I loved the Ideaology piece that says “shake well”. One of the large baseboard pieces fit perfectly inside the large shaker dome and because the base for this piece. I used the dies to cut out the ring to finish the top of the piece. I aged the backdrop paper with Vintage photo ink.
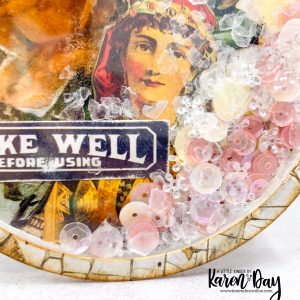
I aged the woman image with Tattered Rose Distess Ink. The shaker bits are a mix of Mica flakes and Catherine Pooler sequins.
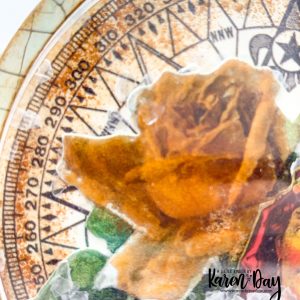
This is the rose from the back ground. I did color it with Distress Glaze in Tattered Rose. It’s very vintage looking!!
I hope that you guys are LOVING these! I will be back with two more pieces tomorrow. The products I used can be found at Scrappy Shak. I’m still trying to figure out how to link to direct products on the new blog set up. That is coming soon!
Karen